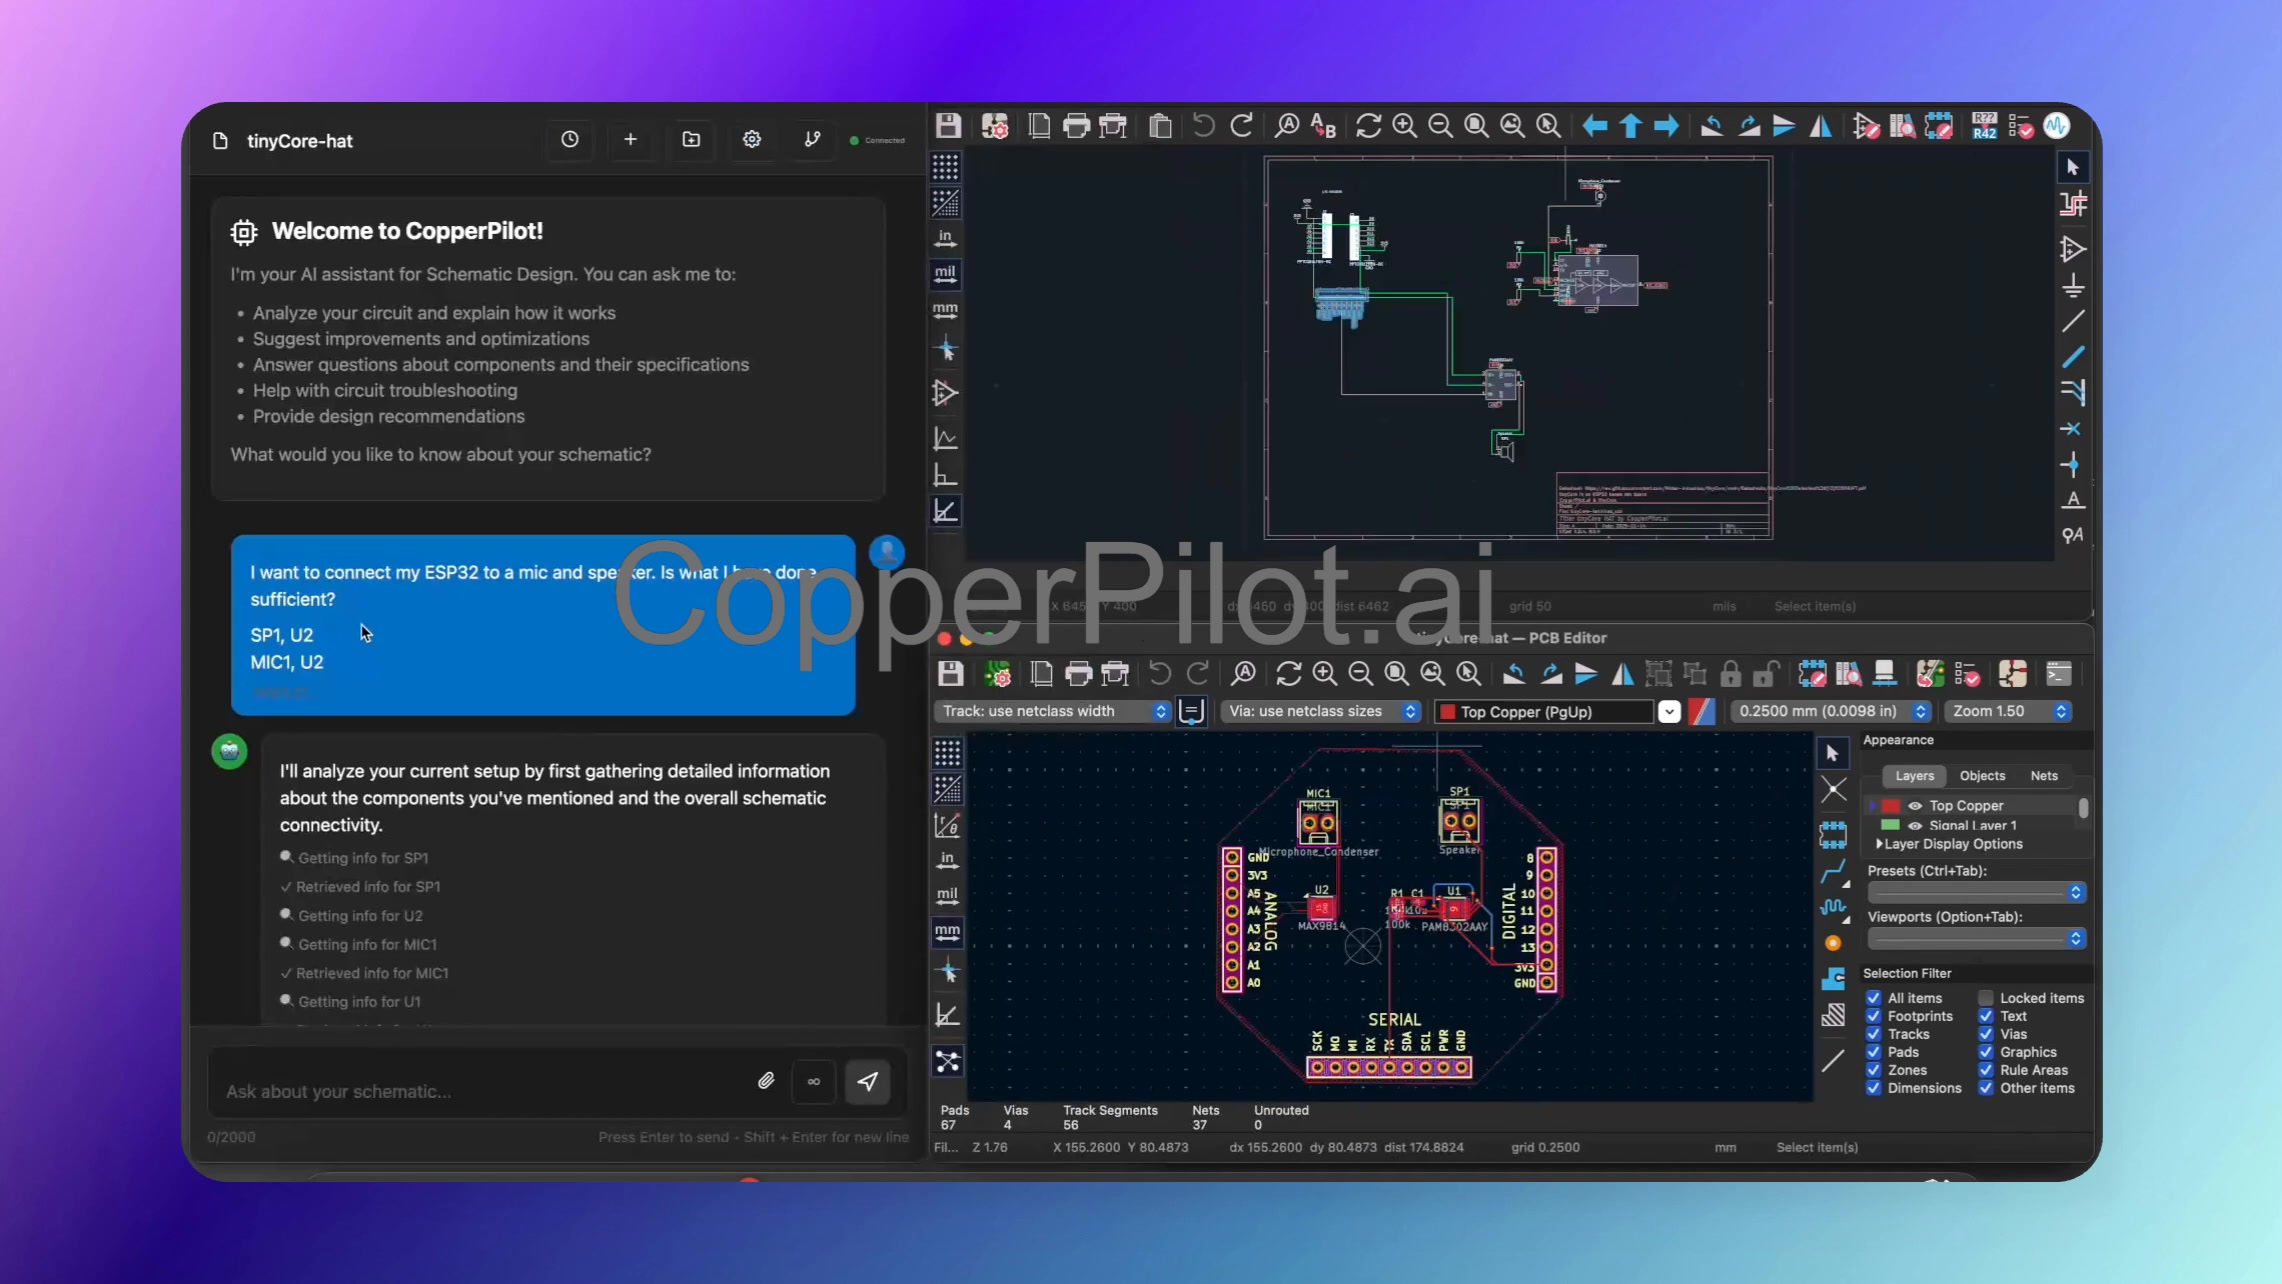
Learn how to build a walkie-talkie hat for TinyCore, an ESP32-powered development board.
This tutorial demonstrates how to use CopperPilot to ideate, design, and validate hardware
using the ESP-NOW protocol with a microphone and speakerphone.
Overview
TinyCore is an impressive ESP32-powered development board with a wealth of built-in features.
In this project, we’ll create a walkie-talkie hat that utilizes the ESP-NOW protocol for
wireless communication, requiring a microphone and speakerphone.
What You’ll Learn
- How to use CopperPilot to ideate and design hardware projects
- Component selection and sourcing from KiCad libraries
- Wiring up analog microphones and speakers with amplifiers
- Schematic design and PCB layout with CopperPilot
- Design review and validation of your PCB
- Auto-routing and manual routing techniques
Project Steps
-
Ideation: CopperPilot helps you start ideating on the project and lays out
components on a template PCB. -
Component Selection: CopperPilot searches through KiCad to locate components,
proposing options including a straightforward setup with an analog mic, speaker, and amplifier. -
Schematic Design: Components are sourced from KiCad and integrated into the
schematic, with symbols inserted and updated in both the schematic and PCB views. -
Wiring: CopperPilot consults datasheets to figure out wiring specifics for
the microphone and speaker, connecting them with the necessary support components like resistors
and bootstrap capacitors. -
PCB Layout: Components are positioned on the PCB, and routing is performed
using a mix of auto-routing and manual routing techniques. -
Design Review: CopperPilot performs a design review, identifying and helping
fix issues such as unwired input/output paths.
Key Components
- Analog microphone
- Speaker
- Amplifier
- Support components (resistors, bootstrap capacitors)
This tutorial demonstrates the complete workflow of ideating, designing, and validating hardware
with CopperPilot, from initial concept to a finished PCB design ready for manufacturing.